A bathroom deep clean should leave the room easier to maintain, not take over your entire day. The simplest approach is to work in a useful order: clear the space, give cleaners time to do their job, handle the details from high to low, and save the floor for last. This checklist covers the shower, toilet, sink, storage, and the small edges that make a bathroom feel truly reset.
Start with a realistic goal. You are not trying to turn a normal bathroom into a showroom. You are removing the buildup that makes everyday cleaning harder: soap residue, hair, dust, toothpaste spots, clutter, and grime around the areas people touch most. A calm, repeatable process matters more than a cabinet full of specialty products.
1. Gather Your Bathroom Deep-Cleaning Supplies
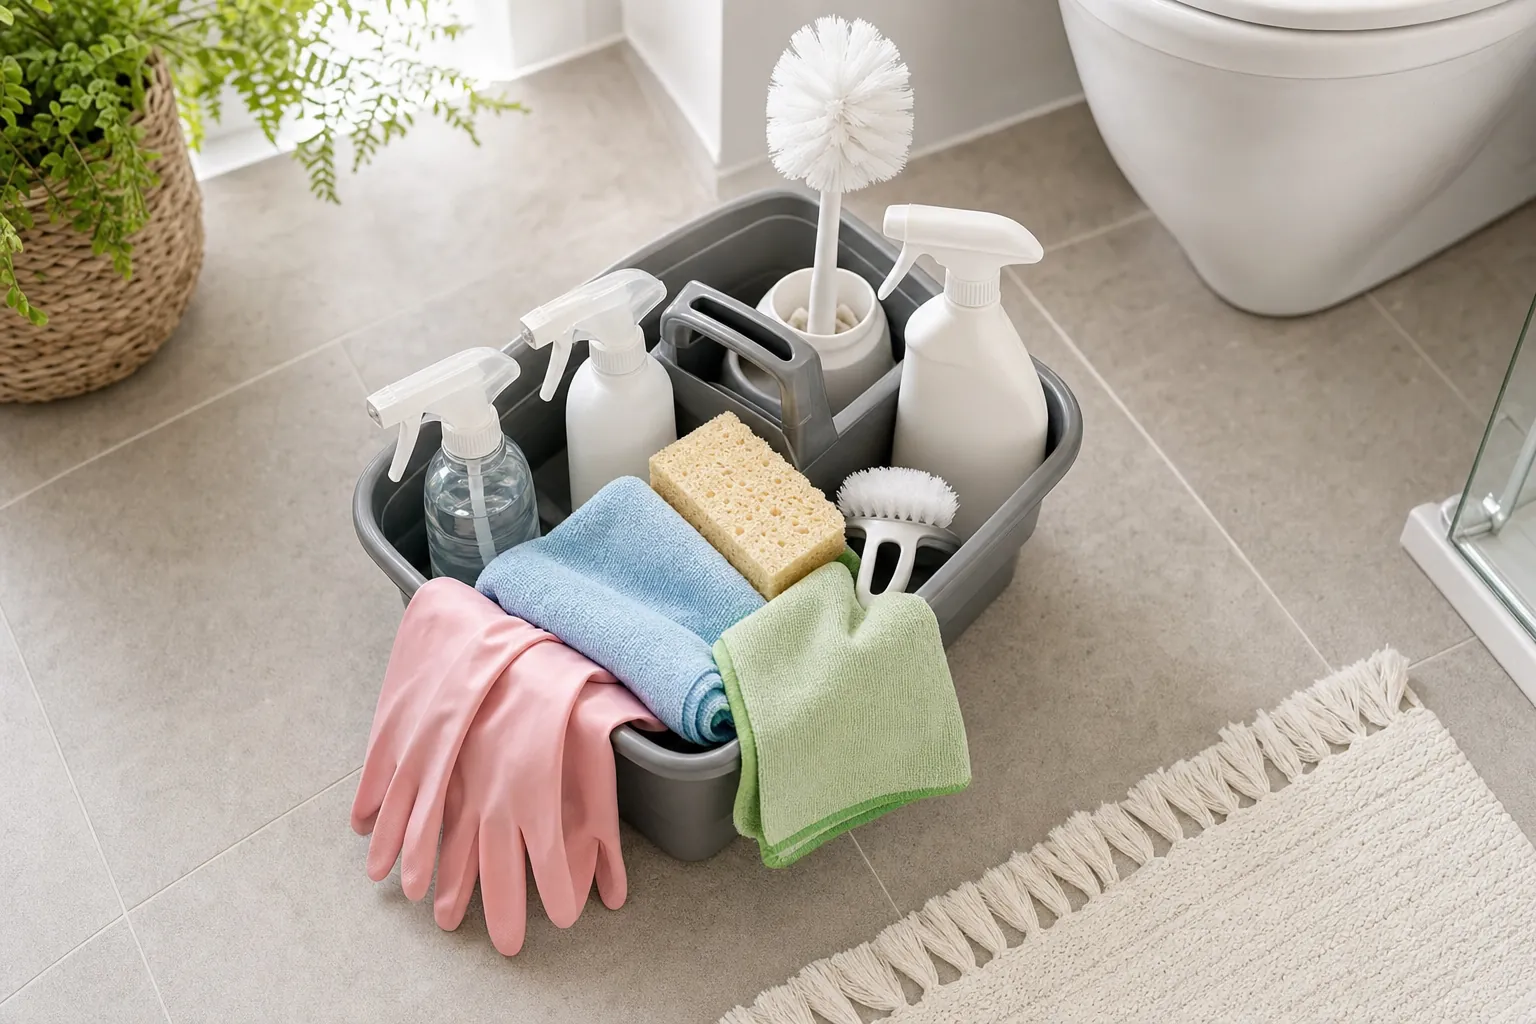
Bring your tools into the room before you begin. That avoids the usual stop-and-start routine of walking out for a cloth, then a brush, then a trash bag. Keep toilet-only tools separate from the cloths and brushes you use for the sink or shower.
- Microfiber cloths, a non-scratch sponge, a small detail brush, and a soft scrub brush.
- A toilet brush, a small bucket or caddy, gloves, and a trash bag.
- A general cleaner or dish soap, plus cleaners suitable for your shower, toilet bowl, mirror, and floor.
- A vacuum or broom for dry debris, followed by a mop or floor tool that suits the flooring.
- Fresh towels and a laundry basket for bath mats, washcloths, and towels that need washing.
Choose products for the actual surface, not just the problem you see. Stone, painted cabinets, acrylic tubs, natural wood, and specialty flooring can all need gentler care. If you prefer products that have been reviewed for safer ingredients, the EPA's Safer Choice program explains what its label represents. Product labels and manufacturer guidance should still have the final say for your own surfaces.
2. Clear the Room and Start From the Top
Remove loose items from the vanity, toilet tank, tub edge, shower shelf, and floor. Put daily products in a basket or on a clean towel outside the room. Toss empty containers, return items that belong elsewhere, and move the wastebasket and bath mat out of the way.
Then begin with dry work. Dust the vent cover, light fixture, reachable trim, shelves, window ledge, and the top of the medicine cabinet. A vacuum attachment or dry microfiber cloth works well here. Starting high means the dust lands on surfaces and floors you have not cleaned yet.
Check the exhaust vent while you are up there. A dusty cover can make an otherwise clean bathroom feel neglected. If the cover is easy and safe to remove, clean it according to the manufacturer's instructions. Do not push tools or liquid into the fan housing.
3. Apply Cleaner to the Shower, Tub, Toilet Bowl, and Sink
This is the time-saving step. Apply the right cleaner to the shower or tub, toilet bowl, sink, and any hard-water marks around the faucet. Let each product sit for the time listed on its label while you work on the vanity and storage. That gives the cleaner time to loosen residue so you do less scrubbing later.
Use fresh air when working with stronger products. The CDC's bleach safety guidance is especially clear on two points: clean visibly dirty surfaces before disinfecting, and never mix bleach with another cleaner or disinfectant. If you choose to disinfect, keep the surface wet for the full contact time stated on the label.
For routine upkeep, do not assume every bathroom surface needs disinfectant. The CDC notes that cleaning with soap or detergent and water is enough in most household situations. Disinfecting becomes more useful after illness or when someone in the home has a higher risk of getting sick.
4. Deep Clean the Shower and Tub
Return to the wet zone after the cleaner has had time to work. Start at the top of the shower walls and move down. Clean the showerhead, handles, tile, grout lines, shelves, door frame, and tub edge before finishing with the floor. If you have a shower curtain, wipe the rod and rings and wash the curtain or liner according to its care label.
- Use a non-scratch tool first, especially on acrylic, fiberglass, glass, or coated surfaces.
- Pay attention to corners, caulk lines, door tracks, the drain cover, and the place where the wall meets the tub.
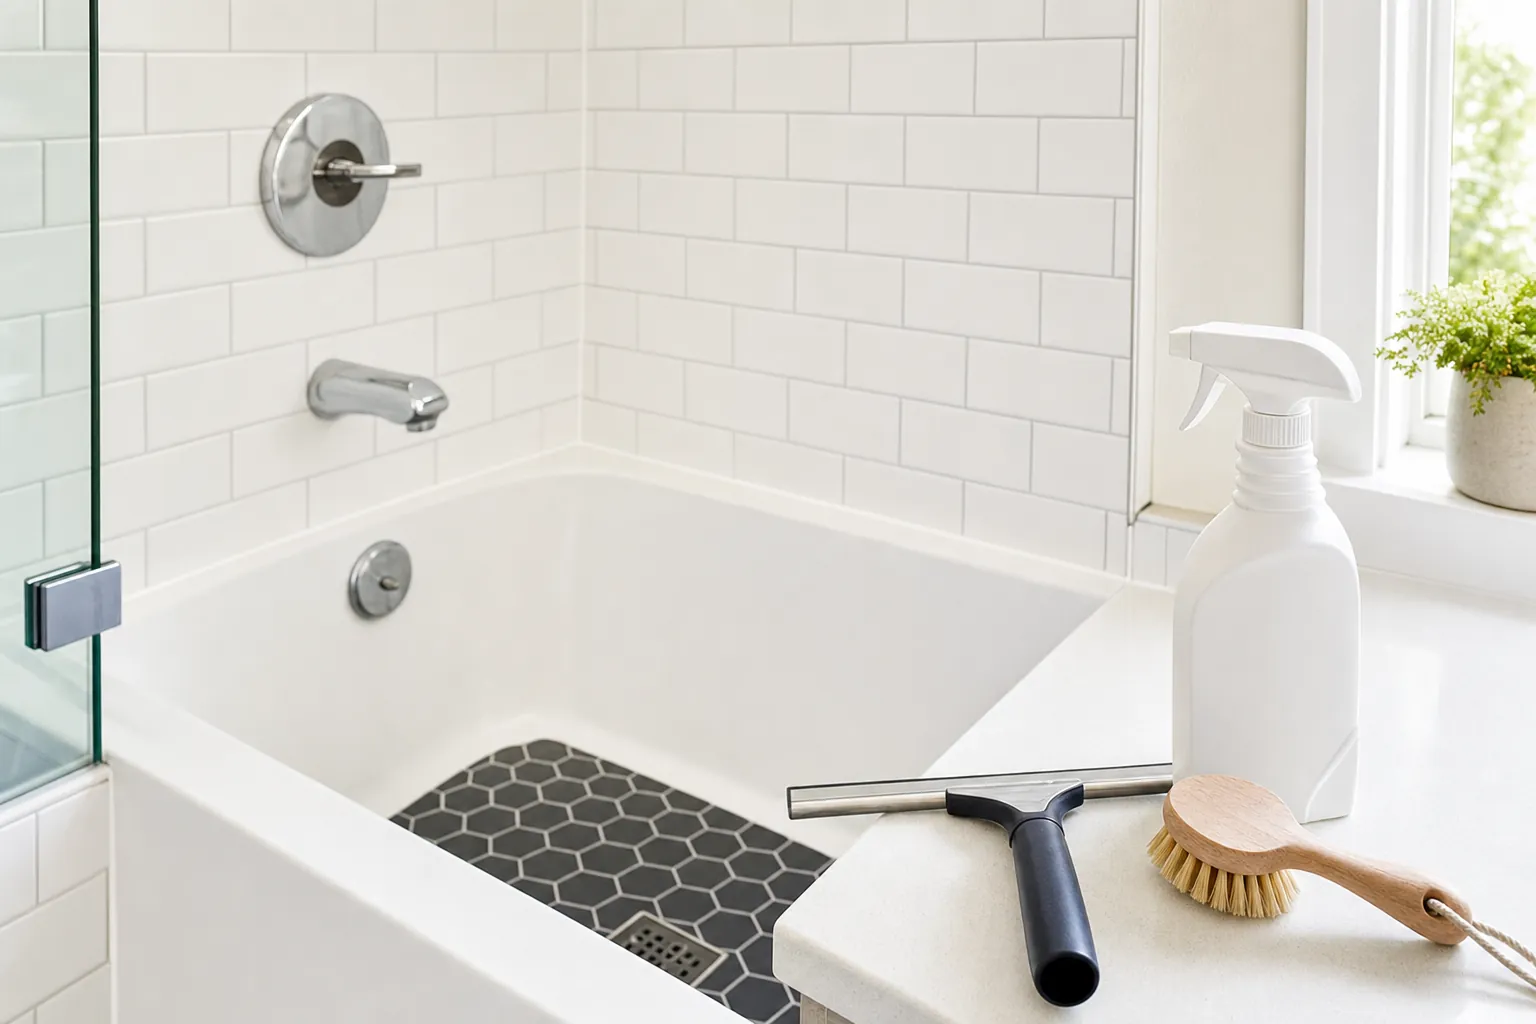
- Rinse away cleaner when the product instructions call for it, then use a clean cloth or squeegee to remove excess water.
- For a stubborn mark, test the gentlest suitable cleaner in a small hidden spot before using a stronger product or an abrasive pad.
Do not treat possible mold, a recurring leak mark, loose caulk, or a damaged surface as a normal cleaning problem. Scrubbing may make it look better temporarily, but a maintenance issue needs the right repair. Renters should document the issue and contact property management rather than trying harsher and harsher products.
5. Reset the Sink, Vanity, Mirror, and Storage
Clean the vanity before the toilet so your freshest cloths are still available for the areas where you put on makeup, brush teeth, and wash hands. Scrub the sink basin, wipe the faucet and handles, and work around the drain, overflow opening, backsplash, counter edge, and cabinet pulls.
Wipe the mirror with a clean cloth, working from top to bottom. A second dry microfiber cloth helps with streaks. Then clean cabinet fronts, drawer pulls, light switches, the door handle, and the wall area around the sink if it has splashes. These are small areas, but they make a noticeable difference because they are so visible.
Use the reset to look through cabinets and drawers. Throw away empty containers, set aside expired items for proper disposal, and group what is left so the things you reach for every day are easy to find. A clean countertop stays clean longer when it is not carrying products that could live in a drawer or cabinet.
6. Clean the Toilet Thoroughly, Without Spreading Germs
Give the toilet its own brush and cloth or disposable wipe. Start by scrubbing the bowl and under the rim according to the toilet-cleaner label. Then clean the flush handle, tank, lid, seat, hinges, exterior bowl, base, and the floor around it. Work from the cleanest area toward the dirtiest and change cloths before touching another surface.
The base and the narrow space behind the toilet are easy to miss because they are awkward to reach. A small brush or crevice attachment can help remove hair and dust before you wipe. If the floor around the base stays damp, smells unusual, or shows repeated discoloration, treat it as a plumbing concern rather than a cleaning challenge.
7. Finish With Touch Points, Laundry, and the Floor
Once the fixtures are clean, make one quick pass over the small touch points: switches, door handles, cabinet pulls, towel bars, toilet-paper holder, and shower controls. Clean these surfaces regularly, particularly when someone has been sick or visitors have been in the home. The CDC recommends regular attention for high-touch areas such as switches, doorknobs, and counters.
Wash bath mats and towels using their care instructions, then empty the trash. Vacuum or sweep the floor, including corners, baseboards, the space behind the toilet, and around the vanity. Finish by mopping from the farthest point of the room toward the door so you do not step back across a freshly cleaned floor.
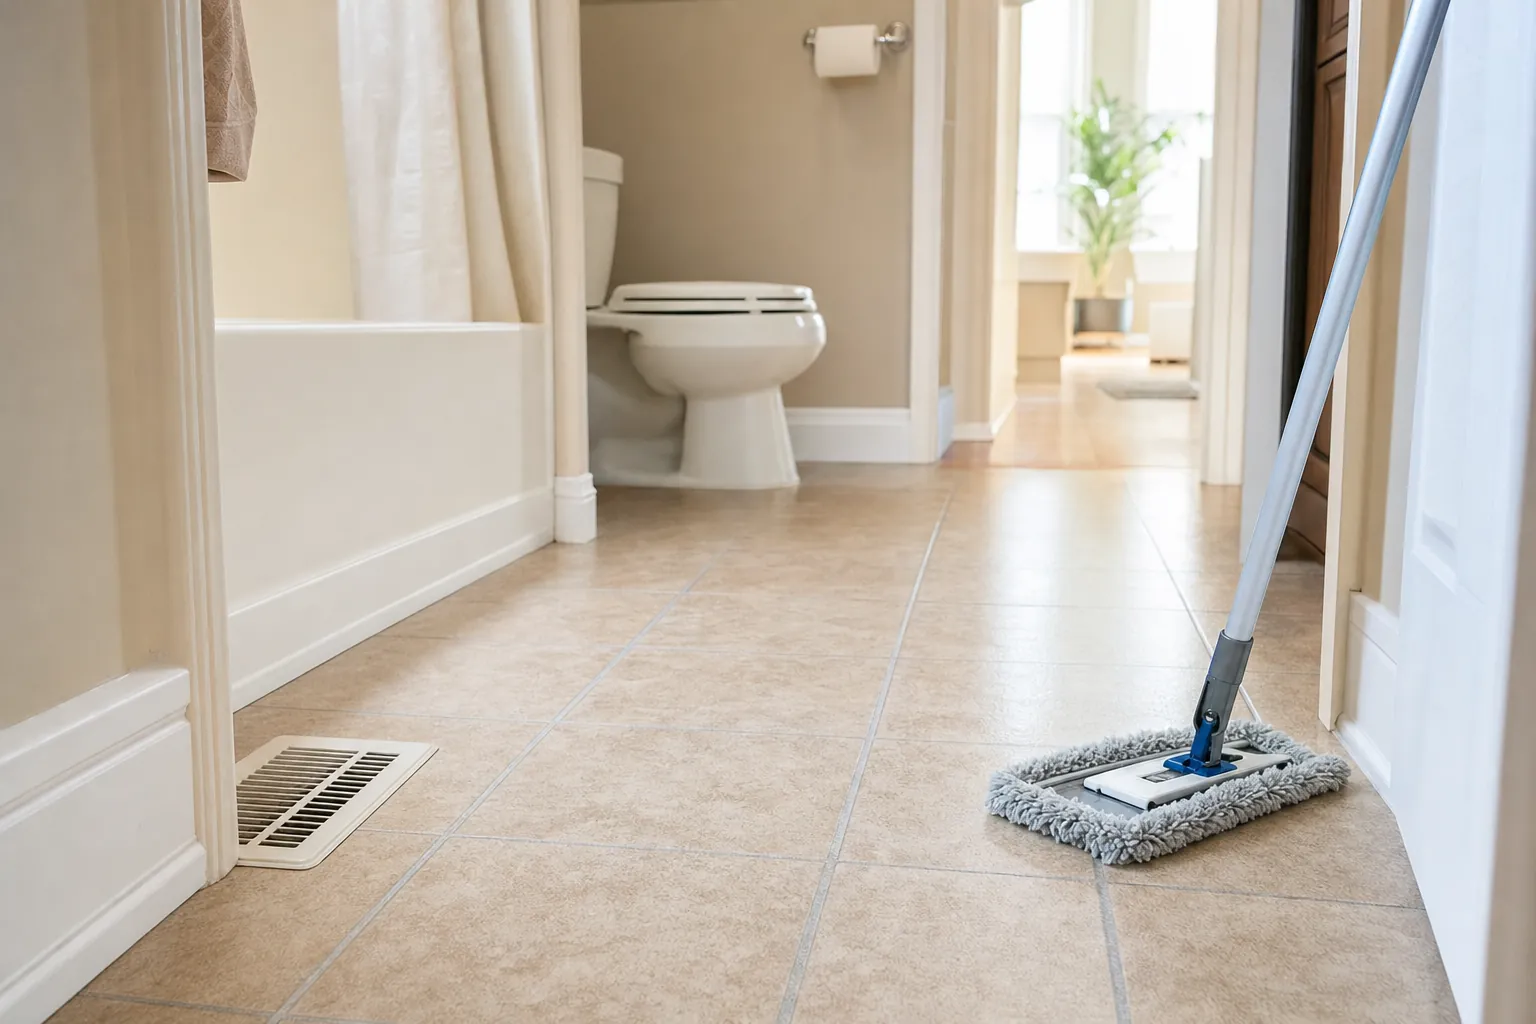
Bathroom Details That Are Easy to Miss
The main fixtures are only part of a deep clean. The places that make a bathroom feel unfinished are usually the narrow, high-use details around them. Work through these areas when they need attention instead of trying to add every one to a weekly routine.
- Faucet aerator and handles: Wipe the seams and around the base where water spots collect. If flow has changed, follow the fixture manufacturer's instructions before removing any parts.
- Shower-door tracks and glass edges: Remove hair and visible debris, then wipe the track with a cloth or small brush that can reach the corners.
- Baseboards and door trim: A vacuum crevice tool followed by a damp cloth handles the dust that settles where walls meet the floor.
- Toothbrush holders, soap dishes, and dispensers: Empty them, wash away residue, dry them fully, and wipe the counter underneath before putting them back.
- Trash can and hamper: Wipe the lid, rim, pedal, and interior when it is empty. These items are close to the action but often skipped because they are not built into the room.
- Behind the door and under the vanity: These low-traffic areas collect dust, hair, and stray products that are easy to overlook from the center of the room.
Keep the level of effort proportional. A clean shower, toilet, sink, and floor will always matter more than polishing every hidden corner. The detailed jobs are useful because they prevent buildup from becoming harder to remove later, not because a bathroom has to look untouched to be comfortable.
A Simple Bathroom Deep-Cleaning Checklist
Use this short version when you want a clear plan without rereading the full guide:
- Gather supplies, open a window or turn on ventilation, and remove clutter.
- Dust high surfaces, vents, shelves, and trim.
- Apply cleaner to the shower, tub, toilet bowl, and sink.
- Clean the shower or tub from top to bottom.
- Scrub the sink, wipe the vanity, polish the mirror, and organize storage.
- Clean the toilet with dedicated tools, including the base and nearby floor.
- Wipe touch points, wash linens, empty the trash, then vacuum or sweep.
- Mop last and let the floor dry before bringing items back in.
If the job feels bigger than a one-room reset, the company's deep-cleaning service covers the detailed kitchen, bathroom, baseboard, vent, appliance, and floor work that routine cleaning can miss.
Keep the Next Bathroom Clean Easier
A deep clean works best when it makes the next one lighter. Wipe the vanity after brushing teeth, hang towels to dry, use the fan during and after showers, clear hair from the drain cover, and give the toilet and shower a short weekly refresh. Those small habits keep moisture and residue from turning into a larger project.
For a wider home rhythm, use the deep-cleaning schedule for your house to decide what deserves weekly, monthly, and seasonal attention. Apartment residents can also use the room-by-room apartment cleaning checklist when the bathroom reset needs to connect to the rest of the home.
When Professional Cleaning Is the Better Use of Your Time
Bathroom cleaning is manageable when it is one part of a normal routine. It becomes tougher when several rooms have built up, there is a move deadline, guests are coming, or you simply do not have a weekend to spare. That is where a professional reset can give you a clean starting point without turning your time off into an all-day project.
Pristine Clean & Home Solutions provides residential cleaning for ongoing upkeep, detailed home cleaning when the work has piled up, and move-in and move-out cleaning when the handoff date matters. To talk through your space, request a free estimate.
Frequently Asked Questions
What is the best order to deep clean a bathroom?
Clear the room first, then dust high surfaces, apply cleaner to the shower, tub, toilet bowl, and sink, and let it work while you clean the vanity and other details. Scrub wet areas next, finish with mirrors and touch points, then vacuum or sweep and mop last.
How often should I deep clean my bathroom?
A light weekly clean keeps most bathrooms manageable. Plan a deeper reset about once a month, or sooner when soap scum, hair, hard-water marks, clutter, or a busy household make the room harder to keep up with.
Do I need to disinfect every part of the bathroom?
No. Routine cleaning with soap or detergent and water is the starting point for most bathroom surfaces. Disinfecting is most useful after illness, for a higher-risk household, or when a product label calls for it. Clean the surface first and follow the product instructions.
What should I not mix when cleaning a bathroom?
Do not mix bleach with other cleaners or disinfectants. Keep the room ventilated, follow each product label, and use the gentlest cleaner that is suitable for the surface you are working on.
When should I hire a professional for bathroom cleaning?
Professional help can be the better choice when several bathrooms need attention, buildup has spread beyond a quick reset, a move is coming up, or a whole-home clean is competing with work, family, or other deadlines.